Installation
The AssetPlacer is a paid plugin, therefore it is not available at Godot’s built-in asset library. You can purchase the AssetPlacer plugin here. Not all versions of Godot are supported by the plugin, so make sure you check that the plugin is compatible with the version you intend to use before you make your purchase. To install the plugin, follow the instructions below.
Note
For installing the demo or older plugin versions, see Demo, AssetPlacer 1.4 and prior (Mono).
Once purchased, retrieve and extract the downloadables. Make sure to choose the package that corresponds to your Godot version.
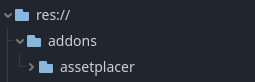
Move the assetplacer folder into the addons folder of the Godot project, where you intend to use the plugin, such that the path to the plugin contents are
res::/addons/assetplacer. If the addons folder does not exist yet, create it. Note that it has to be called “addons”.
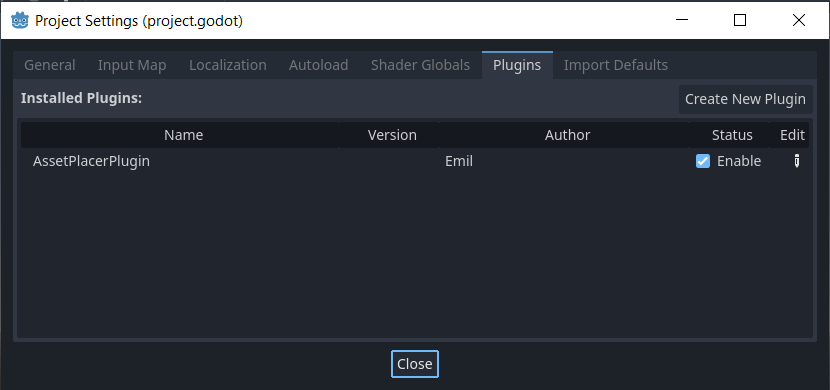
Go to
Project -> Project Settings -> Pluginsand enable the AssetPlacer.
On the bottom panel (next to Output, Animation, MSBuild, etc.), a new option “AssetPlacer” should have appeard. Click it, to open the AssetPlacer UI.
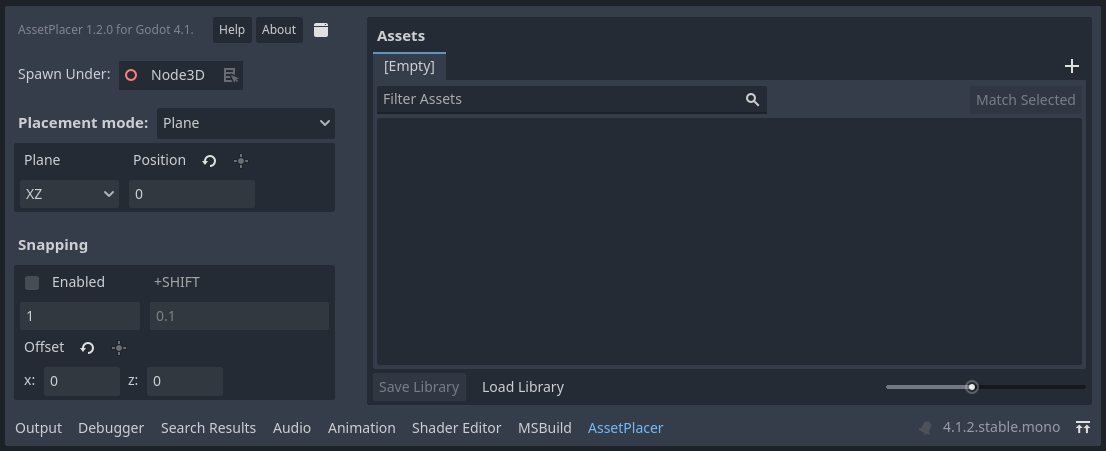
Congratulations, you are ready to use the AssetPlacer!
Demo, AssetPlacer 1.4 and prior (Mono)
Older versions of AssetPlacer (versions 1.4 and older) were developed in C#. Hence, to use those, for example because you want to use the plugin with an older version of the Godot engine, you need to use a Mono version of the Godot engine, and have .NET installed. The modified installation instructions for those versions are as follows:
Retrieve and extract the downloadables corresponds to your Godot version.
Move the assetplacer folder into the addons folder of the Godot project, where you intend to use the plugin, such that the path to the plugin contents are
res::/addons/assetplacer. If the addons folder does not exist yet, create it. Note that it has to be called “addons”.In the top right corner of the editor, next to the play buttons, click the “Build” button. If you are using Godot 4.2 or later, this button is to the left and has a hammer icon. Otherwise it is a button to the right that reads “Build”.

In case the button is not there, make sure you are using the Mono version of Godot, and press Project -> Tools -> C# -> Create C# solution, or create a new C# script in your project and delete it again.
Go to
Project -> Project Settings -> Pluginsand enable the AssetPlacer.On the bottom panel (next to Output, Animation, MSBuild, etc.), a new option “AssetPlacer” should have appeard. Click it, to open the AssetPlacer UI.
Congratulations, you are ready to use the AssetPlacer!